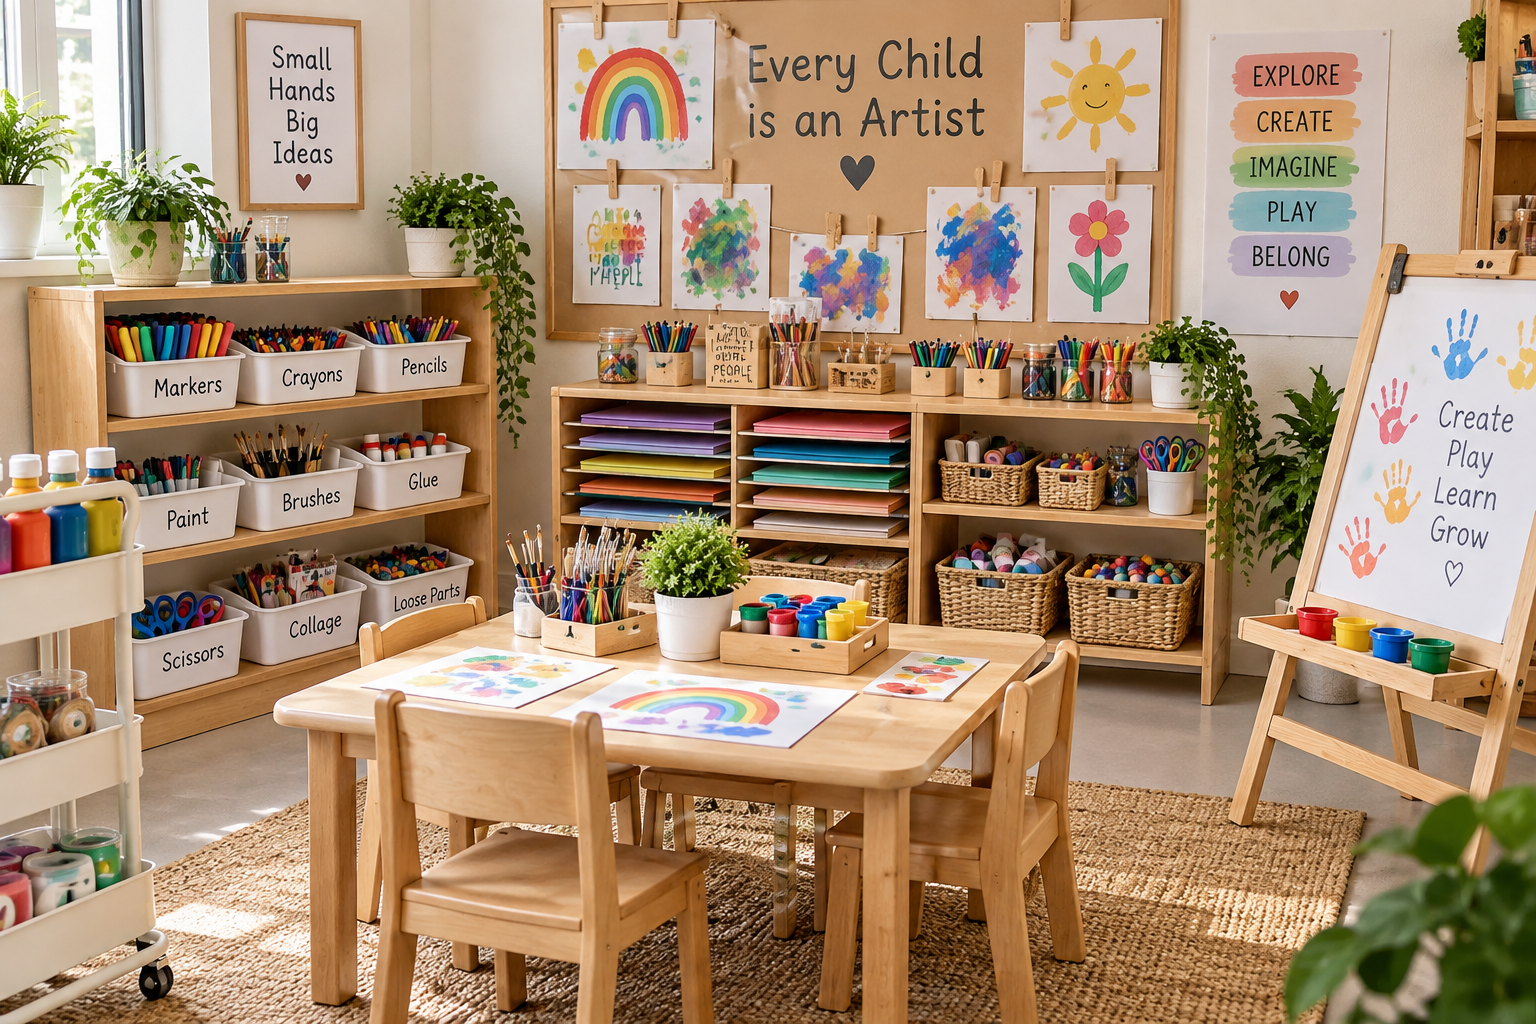
Setting up a preschool art area is the easy part. Keeping it organized once children actually start creating is usually the bigger challenge.
Paintbrushes get mixed together, paper piles up, glue sticks disappear, and the beautifully organized art table from the morning can look completely different by the end of the day.
And honestly, that’s okay. A preschool art area is meant to be used.
The goal isn’t to create a picture-perfect art corner. It’s to create a space where children can independently explore materials, make choices and express their ideas — while still having simple systems that make setup and clean-up manageable for teachers.
Whether you’re creating an art space from scratch or reorganizing the one you already have, these 7 preschool art area ideas focus on practical changes that can work in real classrooms.
Disclosure: As an Amazon Associate, I earn from qualifying purchases. This means I may earn a small commission if you purchase through links in this post, at no extra cost to you.
1. Keep Everyday Art Materials Within Children’s Reach
One of the easiest ways to make a preschool art area more inviting is to let children see and access some materials independently.
Instead of keeping every crayon, pencil and piece of paper inside teacher cupboards, choose a small selection of everyday materials that children can safely use on their own. Low shelves, open containers and easy-to-carry baskets work especially well because children can clearly see what is available.
The goal isn’t to put everything out at once. Too many materials can quickly make the area feel cluttered and overwhelming. Start with a few familiar choices and rotate other materials depending on children’s interests and the experiences you are offering.
Teacher tip: Keep the materials children use most often close to the art table. This makes it easier for them to choose what they need — and, just as importantly, learn to return materials when they are finished.

2. Organize Art Supplies Into Simple Categories
An art cupboard can contain everything you need and still make it difficult to find anything when you’re in the middle of an activity.
Instead of storing all your art materials together, try grouping supplies according to how children actually use them.
For example:
- Drawing: crayons, pencils and markers
- Painting: brushes, paint pots and palettes
- Collage: paper pieces, fabric, natural materials and loose craft items
- Cutting and sticking: child-safe scissors, glue sticks and tape
You don’t need an elaborate storage system. Simple containers, baskets or divided organizers can make it much easier to see what you have, prepare activities and return materials afterwards.
For smaller everyday supplies, I like the idea of using a divided tabletop organizer so different materials can stay together without becoming one big mixed container.
A practical option for small art supplies
The Learning Resources Create-a-Space Storage Center has separate removable compartments that can be used for things like crayons, markers, pencils, scissors and glue. Because the sections can be removed, you can also take out only the materials you need for a particular activity rather than putting the whole collection on the table.
→ See the Learning Resources Create-a-Space Storage Center on Amazon
As an Amazon Associate, I earn from qualifying purchases.

3. Create a Grab-and-Go Art Caddy
Creative experiences don’t always have to stay at the art table. Children might want to draw outdoors, create at another table, or bring art materials into a different learning space.
Keeping a small grab-and-go art caddy ready makes those spontaneous creative moments much easier.
Fill it with just a few everyday supplies such as crayons, pencils, markers, child-safe scissors and glue sticks. Then, when children want to create somewhere else, the materials can move with them instead of needing to set up an entirely new art station.
This can be especially useful in smaller classrooms or shared spaces where you don’t have room for several permanent creative areas.
Teacher tip: Avoid filling the caddy with everything you own. A smaller selection makes it easier for children to see what’s available, carry the caddy safely and return materials when they’re finished.

4. Give Paper Its Own Organized Space
Paper is one of those art supplies that can become messy surprisingly quickly. White drawing paper, coloured construction paper, recycled pieces and scraps can easily end up in one big pile.
Giving paper its own dedicated space makes it easier for children and teachers to see what is available without digging through everything.
Try separating paper by type, colour or purpose, depending on what works best in your classroom. You might have one space for drawing paper, another for coloured paper, and a small basket for reusable scraps.
Keeping those scraps is useful too. Smaller pieces are perfect for collage, cutting and other creative projects instead of automatically reaching for a new sheet every time.
A simple way to organize coloured paper
If you keep several colours of construction paper in your art area, a multi-slot organizer can give each colour its own space.
The Classroom Keepers 15-Slot Construction Paper Storage is designed for 9 × 12-inch paper and gives you separate compartments that could make different colours easy to see and access.
→ See the Classroom Keepers Construction Paper Storage on Amazon

5. Make Space to Display Children’s Artwork
A preschool art area isn’t only a place for storing materials and creating. It can also be a space that celebrates children’s ideas.
Displaying children’s artwork helps make their creativity visible and gives them a sense that their work belongs in the classroom.
You don’t need an elaborate Pinterest-perfect display. A simple hanging line with clips, a display board, or a dedicated section of wall can work beautifully.
Try to keep the surrounding decoration simple so the children’s artwork remains the focus rather than competing with colourful borders, posters and other decorations.
You can also involve children in the process by asking which creations they would like displayed or helping them choose where their work should go.
Teacher tip: Leave some empty space. An art display doesn’t need to be completely filled — giving individual pieces room to breathe can make children’s work stand out even more.

6. Have a Plan for Wet and Unfinished Artwork
One part of preschool art that’s easy to overlook is what happens after children finish creating.
A painting activity can quickly leave you with a table full of wet artwork — and suddenly every spare bench, shelf and windowsill becomes a drying space.
Having a designated place for wet and unfinished work makes a big difference.
Depending on your classroom and the space available, you might use a drying rack, a dedicated shelf, a hanging system, or a clearly marked area where children can leave work they want to return to later.
The important part is having the system before the artwork starts piling up.
It also gives children a predictable routine: create → place the artwork in the designated area → return to it when it is dry or when they are ready to continue.
For classrooms with lots of paintings
If painting is a regular part of your programme, a vertical drying rack can be especially useful because it gives multiple artworks their own drying space without taking over several classroom surfaces.
The Xstermism Art Drying Rack has 19 removable shelves arranged vertically and wheels so the rack can be moved when needed.
→ See the 19-Shelf Art Drying Rack on Amazon

7. Keep the Art Area Inviting — Without Putting Everything Out
It can be tempting to fill an art area with every colourful material you have, especially when you want the space to look creative and exciting.
But more materials don’t necessarily lead to more creativity.
A calmer, more intentional setup can make it easier for children to notice what is available, make choices and actually engage with the materials.
Keep a small selection of familiar basics accessible, then rotate additional materials based on children’s interests and the experiences happening in your classroom.
For example, you might introduce natural materials such as leaves and sticks for collage, different painting tools for experimentation, or recycled materials for construction and creating.
Rotating materials also gives familiar spaces a sense of novelty without needing to completely redesign your art area.
Teacher tip: Before adding something new, ask yourself: Will this give children another meaningful way to create, or am I simply adding more things to the shelf?
The goal is an art area that feels inviting and full of possibilities — not full of stuff.

A Preschool Art Area Should Be Made for Creating
The best preschool art area isn’t necessarily the prettiest or the most perfectly organized one.
It’s the one children can actually use.
When materials are accessible, supplies have simple homes, children’s artwork is valued, and there is a clear system for what happens after creating, the environment can support children to make choices, experiment with materials and express their own ideas.
You don’t need a huge classroom or an expensive art setup to make this happen either. Start with the space and materials you already have, then make small changes based on what you notice children actually using.
Your preschool art area setup can continue to change as their interests change too.
And if the art corner looks a little messy at the end of a busy day?
That probably means someone was creating. 🤎
Looking for more practical preschool classroom ideas? Explore more classroom inspiration, activities and resources here on LGs Little Learners Hub.
Leave a Reply